

How to install Voith Fluid Coupling?
Sep 03, 2026
How to install Fluid Coupling?
As a supplier of Fluid Couplings, I understand the importance of a proper installation process. A well - installed fluid coupling not only ensures the smooth operation of your machinery but also extends its service life. In this blog, I will guide you through the step - by - step process of installing a Voith Fluid Coupling.
1. Preparation
Before you start the installation, it is crucial to make thorough preparations. First, check the coupling and all its components for any visible damage during transportation. Ensure that you have all the necessary tools at hand, such as wrenches, torque wrenches, and alignment tools.
Refer to the installation manual. This manual contains detailed information about the specific model of the fluid coupling you are installing, including its dimensions, weight, and recommended installation procedures.
It is also essential to clean the installation site. Remove any dirt, debris, or oil from the area where the coupling will be installed. This will prevent any contaminants from entering the coupling and causing damage.
2. Alignment
Proper alignment is one of the most critical steps in installing a fluid coupling. Misalignment can lead to excessive vibration, premature wear, and even failure of the coupling and connected equipment.
Use a laser alignment tool or a dial indicator to align the shafts of the motor and the driven machine. The alignment should be within the tolerance specified in the installation manual. Generally, the angular misalignment should be less than 0.5 degrees, and the parallel misalignment should be within 0.05 mm.
When aligning the shafts, make sure that the motor and the driven machine are firmly mounted. Loose mounts can cause misalignment during operation. Check the base plates and foundation bolts to ensure they are tightened to the correct torque.
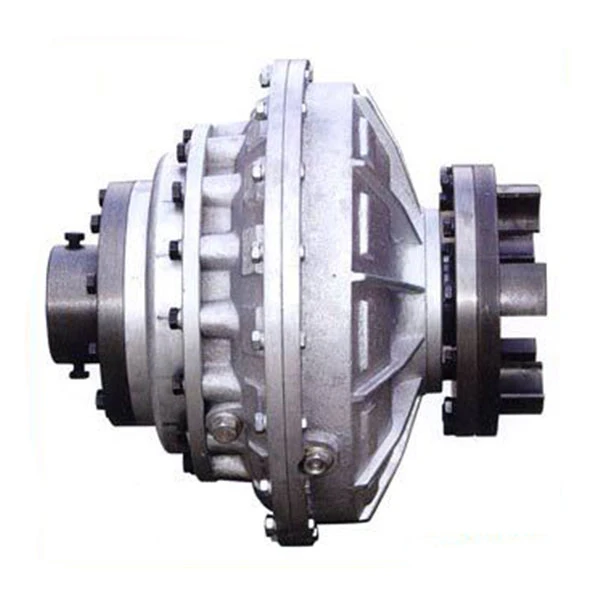

3. Mounting the Fluid Coupling
Once the shafts are properly aligned, it's time to mount the fluid coupling. Carefully lift the coupling using a hoist or other lifting equipment. Make sure to follow the safety guidelines when lifting heavy objects.
Insert the coupling onto the motor shaft and the driven shaft. Some couplings may require a keyway and a key for proper installation. Ensure that the key is properly seated in the keyway and that the coupling is fully engaged with the shafts.
Tighten the coupling bolts to the specified torque using a torque wrench. Over - tightening or under - tightening the bolts can cause problems. Refer to the installation manual for the correct torque values.
4. Filling the Fluid Coupling
After mounting the coupling, it's time to fill it with the appropriate fluid. Recommends using a specific type of hydraulic fluid for its fluid couplings. Using the wrong fluid can affect the performance and lifespan of the coupling.
Before filling, make sure the filling plug is clean and free of debris. Use a suitable filling device, such as a hand pump or a filling gun, to fill the coupling with the fluid. Fill the coupling to the recommended level, which is usually indicated on the coupling or in the installation manual.
It is important to note that over - filling or under - filling the coupling can lead to problems. Over - filling can cause excessive pressure and leakage, while under - filling can result in poor performance.
5. Connecting the Cooling System (if applicable)
Some fluid couplings are equipped with a cooling system to maintain the proper operating temperature. If your coupling has a cooling system, connect it according to the installation manual.
Check the hoses and pipes for any leaks or damage. Make sure the cooling fluid is at the correct level and that the pump is functioning properly. The cooling system helps to dissipate the heat generated during operation, which is essential for the long - term performance of the coupling.
6. Testing
After the installation is complete, it is necessary to conduct a test run. Start the motor at a low speed and gradually increase the speed. Observe the operation of the coupling and the connected equipment.
Check for any abnormal noises, vibrations, or leaks. If you notice any problems, stop the operation immediately and troubleshoot the issue. Make sure the coupling is operating smoothly and that the temperature remains within the normal range.
7. Maintenance
Regular maintenance is essential for the proper functioning of the fluid coupling. Check the fluid level regularly and top it up if necessary. Inspect the coupling for any signs of wear or damage, such as cracks, leaks, or loose bolts.
This may include changing the fluid at regular intervals, cleaning the coupling, and inspecting the cooling system.
In conclusion, installing a Fluid Coupling requires careful preparation, proper alignment, and attention to detail. By following the steps outlined in this blog, you can ensure a successful installation and optimal performance of your coupling.
If you are interested in purchasing a Fluid Coupling or have any questions about the installation process, please feel free to contact us. We are a professional supplier of Fluid Coupling and YOX Fluid Coupling, and we are committed to providing high - quality products and excellent service.